【前回】2.CML2の購入〜ダウンロード
【次回】4.CMLの起動【Windows編】
CMLを起動するためには、仮想化ソフトウェアが必要です。
Windowsの場合は、個人利用で非営利目的に限り無償で利用できる「VMware Workstation Player」をインストールします。
目次
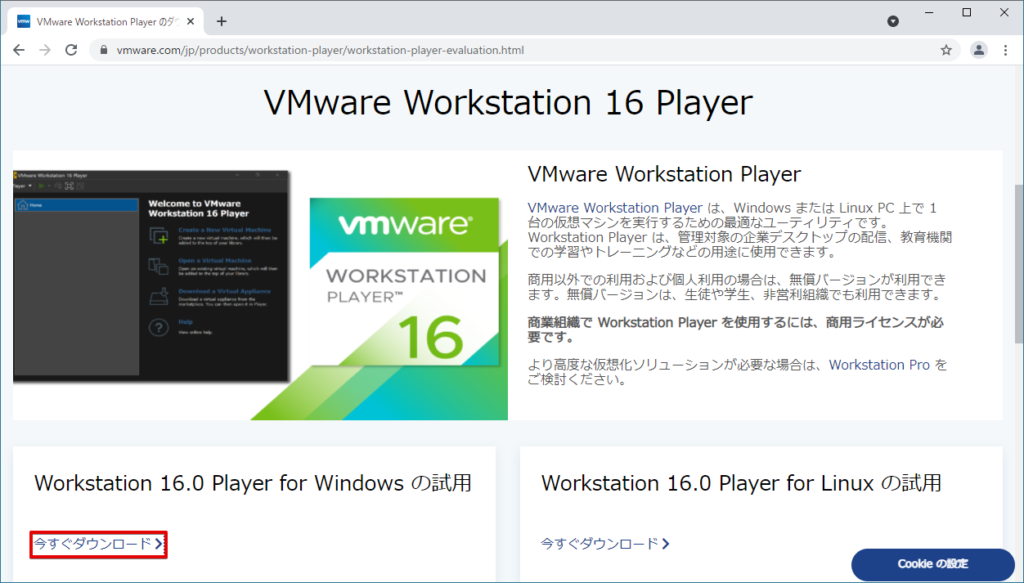
VMware Workstation Playerのダウンロード
VMwareのホームページから「VMware Workstation Player」をダウンロードします。
「今すぐダウンロード」をクリックします。
VMware Workstation Playerのインストール
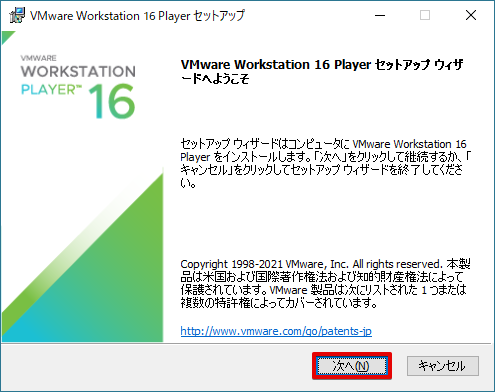
ダウンロードしたexeファイルをダブルクリックし、インストールしていきます。
セットアップウィザードが表示されるので、「次へ」をクリックします。
使用許諾契約書に同意し、「次へ」をクリックします。

インストール先と追加機能(オプション)を確認し、「次へ」をクリックします。
※CMLの仮想環境として利用する場合は、デフォルトのままで問題ありません。

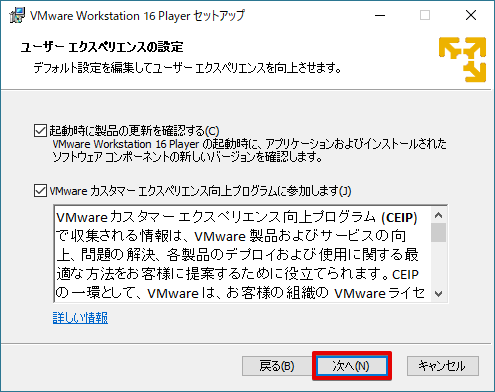
ユーザーエクスペリエンスの設定を確認し、「次へ」をクリックします。
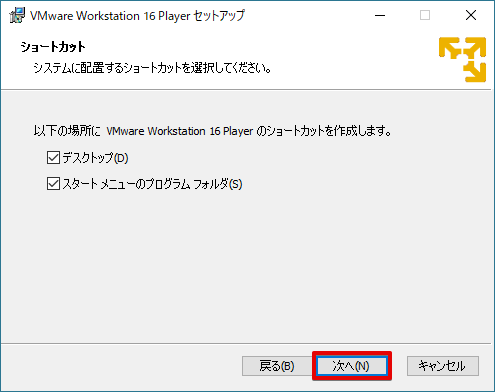
ショートカットの作成有無を選択し、「次へ」をクリックします。
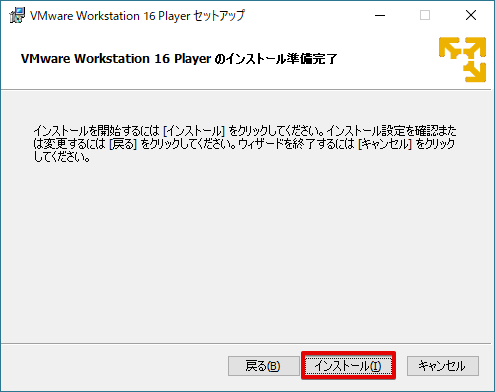
「インストール」をクリックします。
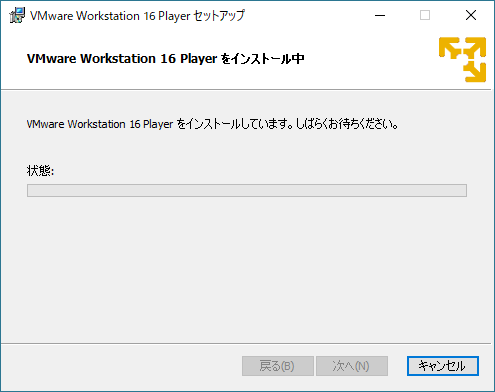
インストール中の画面が表示されます。
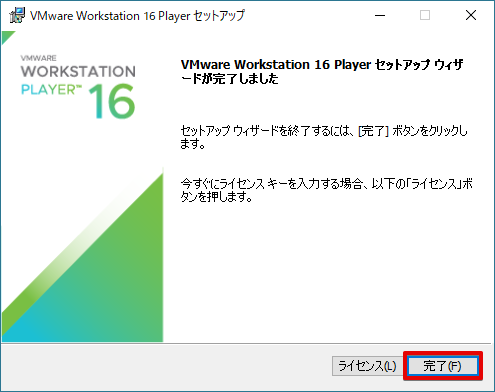
セットアップウィザード完了の画面が表示されます。
個人利用で非営利目的の場合は、ライセンスキーの入力は不要のため、そのまま「完了」をクリックします。
これで、VMware Workstation Playerのダウンロード・インストールは完了です!
次に、CMLをVMwareにデプロイし、起動していきます。